In most cases, when users deal with animation in the interface, it takes short seconds and feels as natural as a breath. Being far from design and development routine, it’s almost impossible to imagine that these brief and simple interactions take long hours of thorough work presenting a mix of science and art.
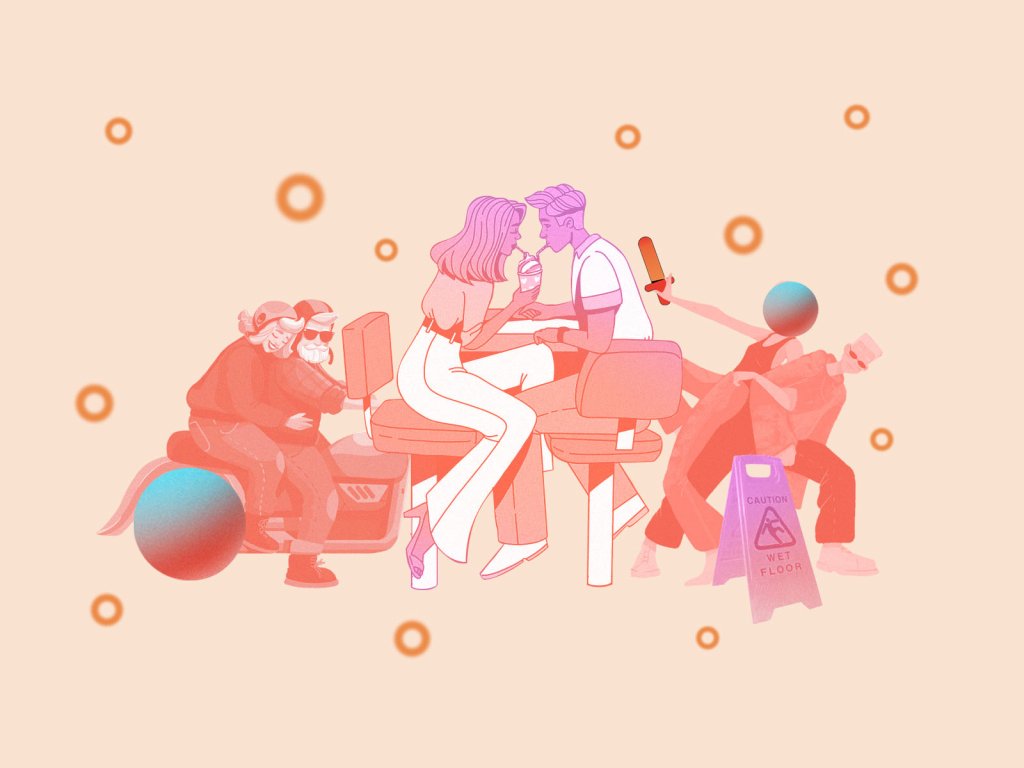
In our previous articles, we had numerous chances to show you diverse UI animations solving users’ problems and enhancing usability, still, they were mostly presented in a design perspective. Today’s case study will set the link between design and development for iOS mobile applications: it will show you a collaboration of UI designers, motion designers, and iOS developers working over animation for Toonie Alarm. Previous case studies already let you see the creative process for user interface and mascot design, but this time you will come along a step-by-step guide on how animation was created for the app.
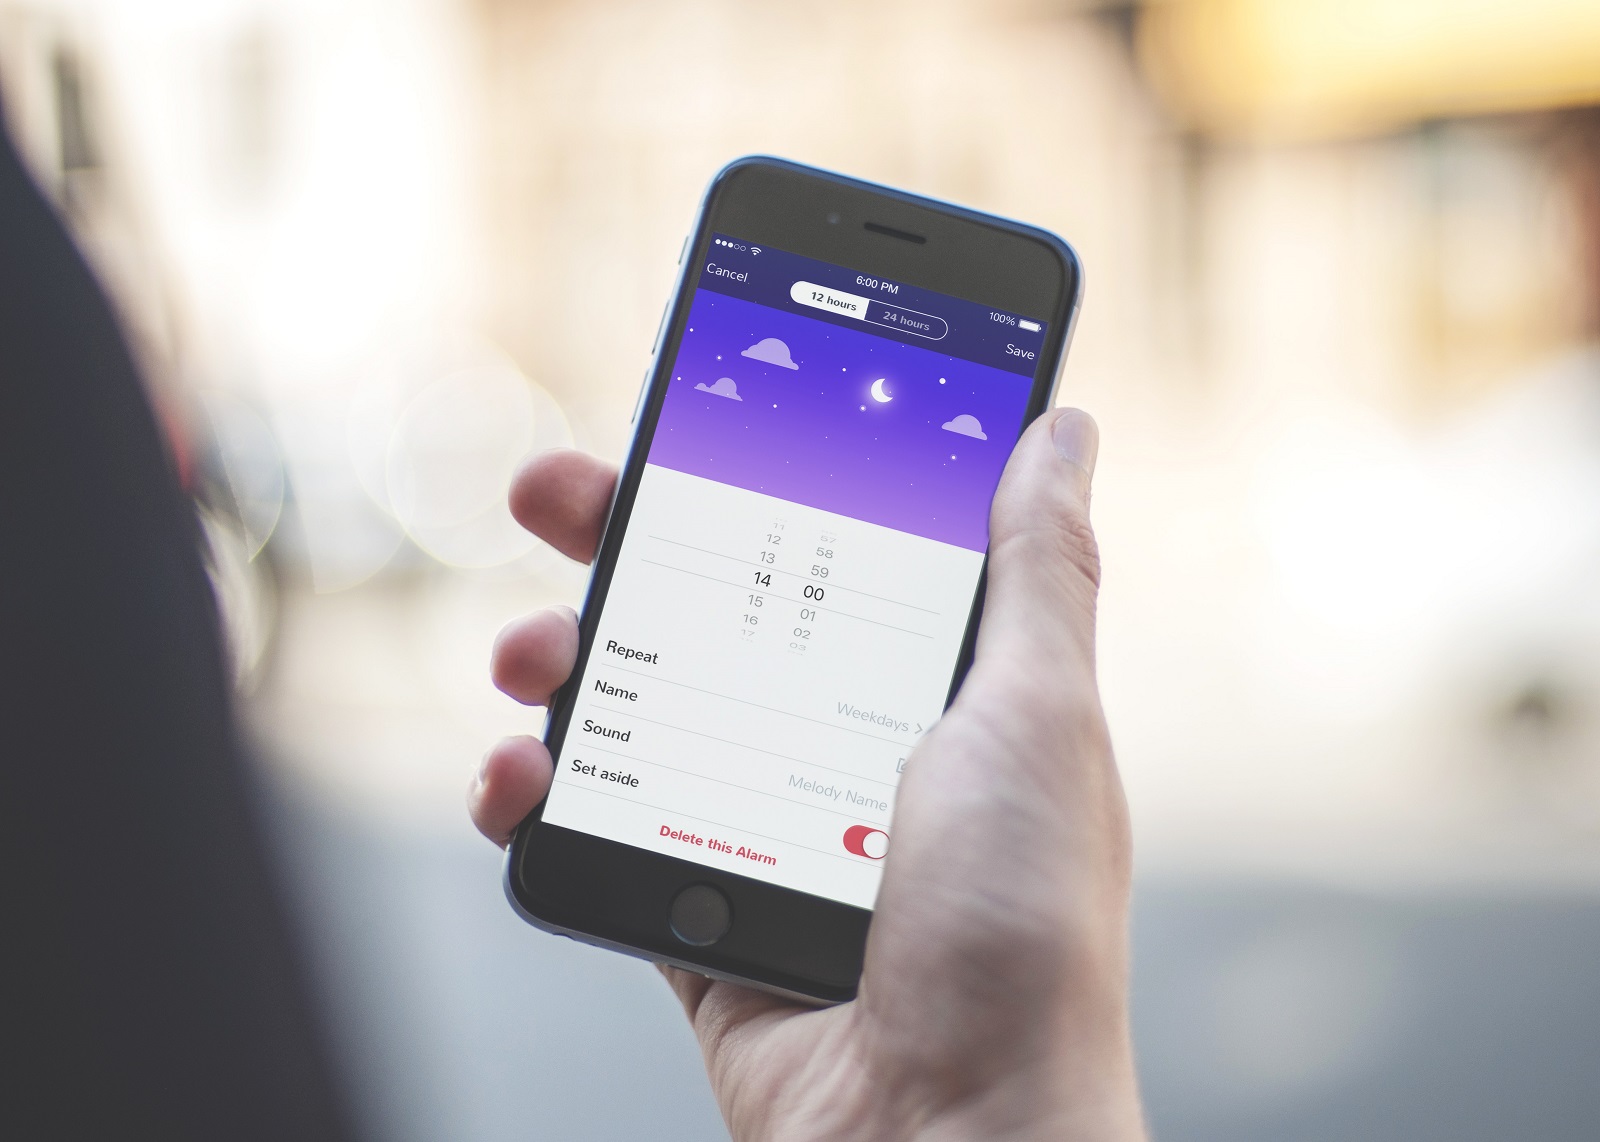
Time Picker Animation
Time picker in the alarm application is actually the core part of the interaction with the app and the primary element at which motion design and development play a vital role in establishing both usability and visual harmony. Let’s see how science, calculations, and code are able to transform into beauty and style.
All the content of animation is placed on custom subclass UIView, for this case we call it AnimatedDayView.

The bottom layer is Infinite UIScrollView (1 on the scheme above). It is the endless scroll view that includes the copies of the image below.
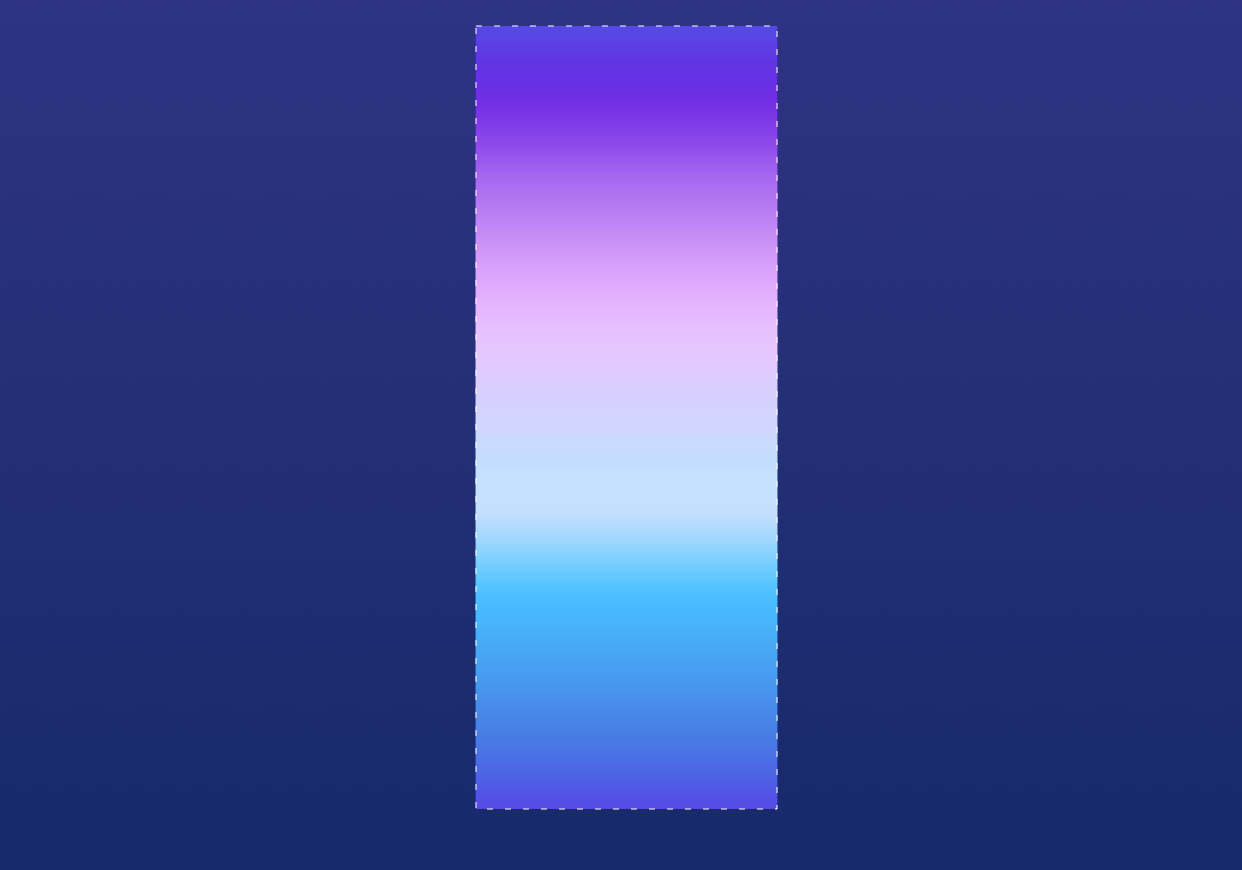
There are numerous ways of realization for an endless scroll. The main idea of replacement in the scroll view is to recalculate the size of the scroll view and replace the invisible previous image showing the new one and adding the one for the future.
In the case of animated time picker for Toonie, we took the starting point at 6 AM, therefore the middle point is 6 PM and the ending point is 6 AM of the next day.
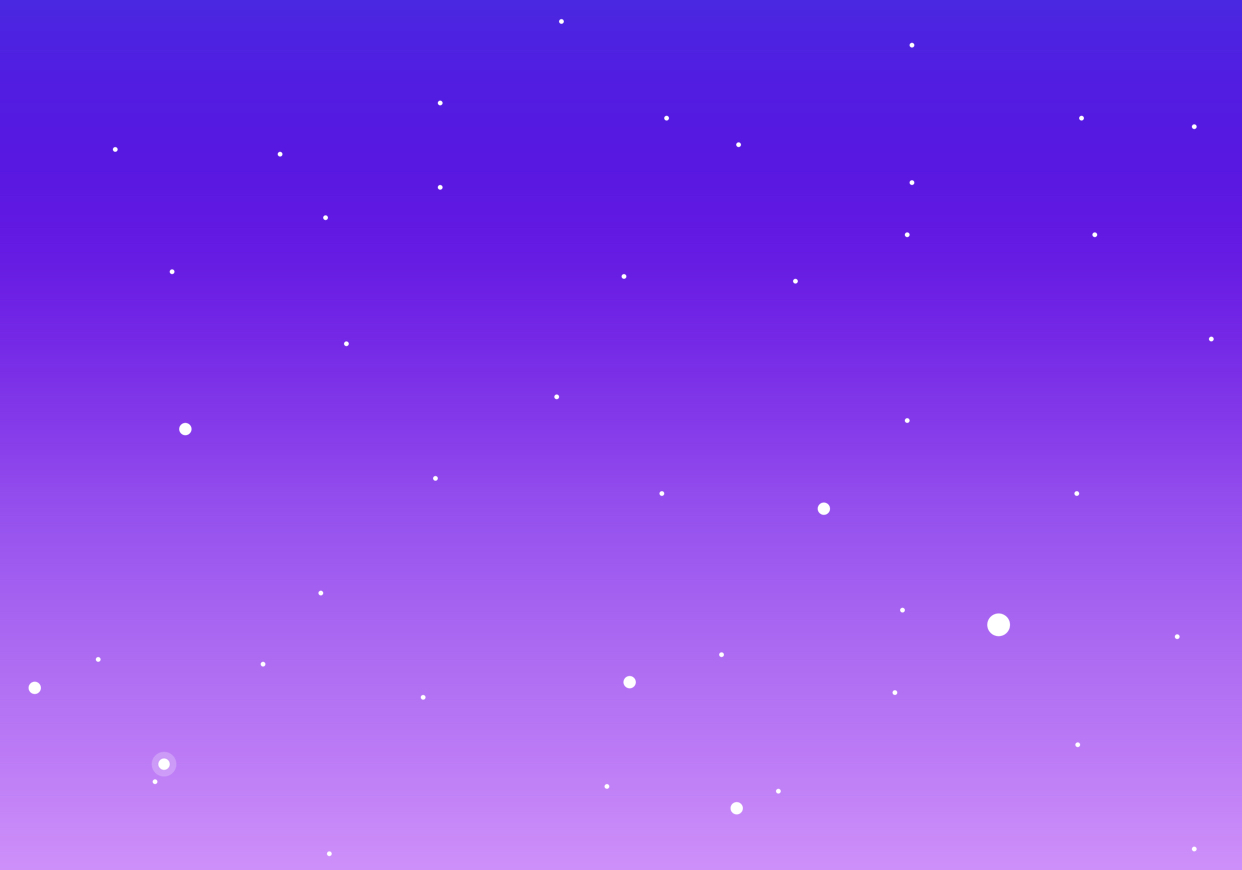
The next layer is Stars UIImageView (2). This UIImageView is added over the scroll view and goes around its center; during this process, the Alpha of the layer is changed. It means that in the daytime it is transparent while in the evening time it gradually appears.
The next layer is CALayer for the sun and the moon— SunMoonBackgroundLayer. It isn’t seen in the scheme as it has the same size as AnimatedDayView. It also rotates around its center which is below the visible frame of the screen (5).
On the SunMoonBackgroundLayer, there are two more layers – for the moon (3) and the sun (4). The layer of the moon rotates to the same angle as SunMoonBackgroundLayer but in the opposite direction. The sun rotates to a higher number of radians.
The issue of great importance here was to thoroughly calculate at which a number of degrees should each layer be rotated and how far should the scroll go on. The scroll presents the easiest part. The input variable is always time, that is the hour and minutes which the user chose on UIDatePicker. With this data, it’s quite simple to calculate the scroll view shifting. Initially, it will be zero, which in our case is equal to the time of 6 AM as we set above. Imagine that the user has picked the time at 9.10 AM. We can understand which number of pixel the view has to shift down or up when we calculate the difference of the time in minutes (190 minutes) and transforming them into pixels. All the scroll ground presents 24 hours, so its height presents 24 hours, therefore 1 minute=image_height/minutes_per_day (60*24). Knowing the value of 1 minute, it’s not difficult to calculate how many pixels are set into 190 minutes. The only thing left to do is to move the scroll on the required number of pixels, which can be also negative in cases when the new time is less than the previous setting.
The next important parameter is Alpha of the stars. It can be calculated with understanding at which particular place on the background image we are at the current position. It means that at 6 AM in the top part of the image the stars should have Alpha 0 value because the morning starts. And the stars are ignored, aka kept in Alpha 0, up to 6 PM, and then Alpha value should be gradually increased so that at midnight Alpha reached 1. The calculation of dynamics and intensity here can be different depending on the desired visual effect. The core thing is that we have the basic parameter which we can rely on: the current position on the background image. And it can be easily calculated knowing the time set by the user. With alteration of Alpha motion, attractive visual performance can be effectively reached.
To calculate the angle of rotation, we take 360 degrees for 24 hours. So, 0 degree = 6 AM. We calculate the difference in minutes, find the number of degrees per minute and set the degrees required for shifting.
Another element of animation is clouds. They appear due to NSTimer. It adds one of the graphic variants for clouds (the app uses three graphic versions) with the random coordinate of Alpha (transparency) beyond the limits of the screen on the right side. After that animation of movement (changing the center) starts from right to left. The timer is launched with a random interval. After the animation is finished, the cloud is gone.
Sun Switch
Another piece of animation that required attention and creativity was the switch on the Alarm Screen, the actual element of interaction showing that the alarm is set and active or not. Design solution supporting the general visual performance of the app was to make the toggle look like the animated sun when the alarm was in the active position.
Looking over the accomplishment of the presented motion via code, we see that this is the UIView which contains several layers.
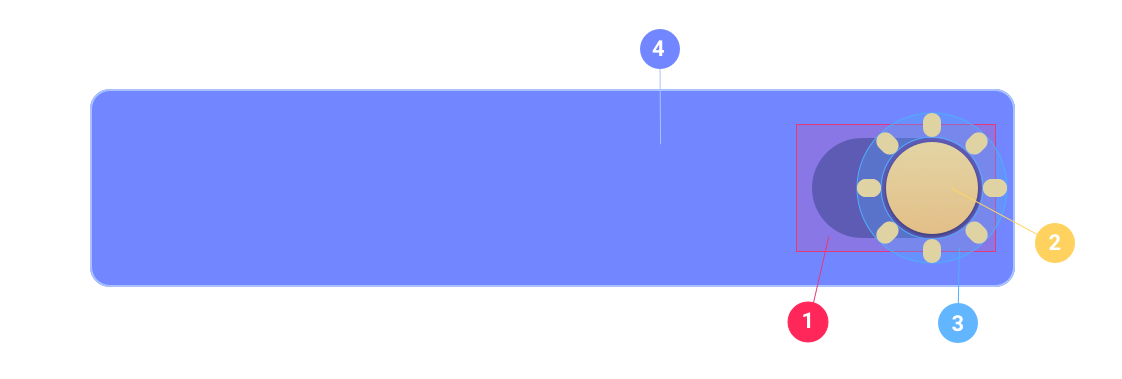
The first layer is the background of the hole in the switch (1) which has a rectangular shape. Above it, there is the circle – the toggle of the switch (2) which is the center of the sun. It can move leftwards or rightwards. Another layer is the sun rays (3). They are set as separate layer because they have the endless animation of rotation.
When the switch is off, the rays change their Alpha to 0 and animation stops. Over all the mentioned layers, the largest layer is placed which is the background of the switch (4). This is also the rectangular layer which has a mask CAShapeLayer drawn with two UIBezierPaths.
The mask cuts off the layer of the required shape and switch gets a look of the final view. For interactive controlling, two Gesture Recognizers are added: UITapGestureRecognizer for pushing and UIPanGestureRecognized for pulling the toggle.
This practical case shows that making animation which will realize its problem-solving potential looking attractive and natural is a demanding task requiring a thoughtful approach and collaboration of designers and developers for users’ sake. If you want to test everything described above in real interaction, just set Toonie and see how it works. And don’t miss new cases telling more stories of creative process.
Welcome to set up Toonie Alarm via App Store
Welcome to read case studies about user interface design and mascot design for Toonie Alarm